Takex Flame Sensor (FS-5000E) - Quick Start Guide
Hardware Overview
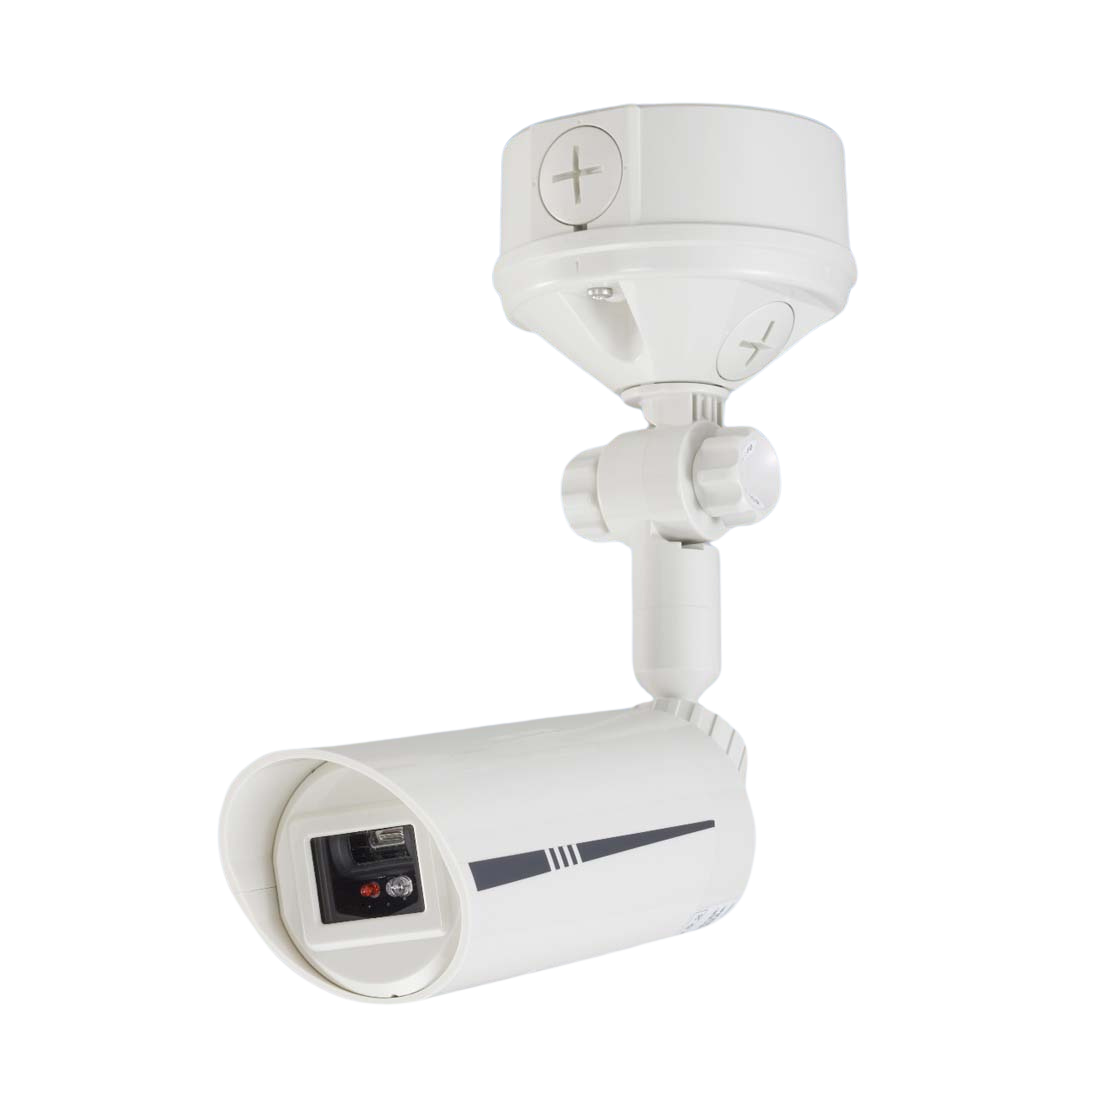
The Takex flame sensor is a detector that triggers from the ultraviolet rays contained in flames, which then sends the trigger to the door contact contained within the base of the unit. Find specification sheets and manuals attached to this article for the Takex flame sensor. This article is for the use of the flame sensor with the Vigileyez door contact.
Wiring the door contact
Pairing and configuration of the Door Contact
Note; when using certain device configurations, applying an area to that mode will enable it and removing the area will disable it. The configuration modes will then show as bold if enabled, see image below as an example:
To pair a door contact onto the control panel, go into the Wireless Sensors section of the configuration.
- Put the panel into pairing mode by unlocking the receiver at the top of the page and Start Refresh at the top right of the screen (for more information on accessing this page, please refer to the Control Panel guides)
- Connect the battery to the door contact and within 5 seconds of connecting the battery, press the tamper switch twice
- The door contact will beep and/or flash 3 times confirming it is in pairing mode and will now show in red on the configuration interface
- Select the door contact and then select the Input configuration option
- Use the configuration below for the door contact being used with the Flame Sensor
- Press Save at the top right of the page
- To complete the pairing process on the door contact, press and hold the tamper button for around 3-4 seconds and let go
- The door contact will beep and/or flash to confirm and will now be showing as green on the Wireless Sensors page of the panel configuration

For more information on the door contact configuration, please visit the Door Contact quick start guide
Manufacturer guides/docs
See the manufacturer's guides and documentation attached to this article.
Related Articles
Takex Infrared Beam Detector (TXF-125) - Quick Start Guide
Hardware Overview Coming Soon Wiring the door contact Coming Soon Pairing and configuration of the Door Contact Note; when using certain device configurations, applying an area to that mode will enable it and removing the area will disable it. The ...Door Contact with Input - Quick Start Guide
Hardware Overview Pairing the Door Contact When using certain device configurations, applying an area to that mode will enable it and removing the area will disable it. The configuration modes will then show as bold if enabled, see the image below as ...Door Contact with Input/Output - Quick Start Guide
Hardware Overview Pairing the Door Contact When using certain device configurations, applying an area to that mode will enable it and removing the area will disable it. The configuration modes will then show as bold if enabled, see the image below as ...Door Contact - Input and Output
See attached documentationDoor Contact - Input only
See attached documentation